

Here is a very look at the paper mache deer heads that were created in the Westcott "lunch and learn" class on Friday. It is such a pleasure to be in a company headquarters that appreciates how wonderful a creative event can be for staff.
For this special event, the "lunch and learn" started at 9am and everyone crafted through the lunch at noon.

Everyone entered the board room to see this blank paper mache deer head and a bottle of Traci Bautista Collage Pauge at their seat.

To create these special heads, we also had a large selection of tissue paper to choose from. It took only a few minutes for everyone to select a favorite colour palette. Our table was quickly covered!

My technique is to rip small pieces of tissue until you have a good pile. It takes roughly 3/4 of a sheet of tissue to cover the whole head.

I recommended decoupaging a solid colour tissue paper to start.

Then, a second layer of patterned tissue paper would pop from the base colour.

The bell on the nose was brilliant on this deer.

This silver deer had black and white damask strategically placed throughout. Hot pink polka dots made it even better.

Our stash of buttons, sequins and embellishments were starting to be added at this point.

Can you ever have too many embellishments?

Hot glue was our choice for adding these items quickly.
It took no time for all of us to discover we wanted a zebra too.
Didn't this turn out amazing?

Collage Pauge goes on white but dries clear. You have to trust that all will work out.

Do you see the hands at the top of the antler? Someone decided to add mini lights and we were all jealous. I am adding lights now too. (The battery pack fits nicely in the back of the head.)

I had a brilliant time in the workshop. Once you demo applying tissue with glue, there is very little teaching left to do. So I worked on my head as well.

Here it is in my studio. It is not done. I think rhinestone chain will be added, since I can't imagine leaving it alone. It was way too much fun.
Update: Added A little glass glitter. Now it is done!
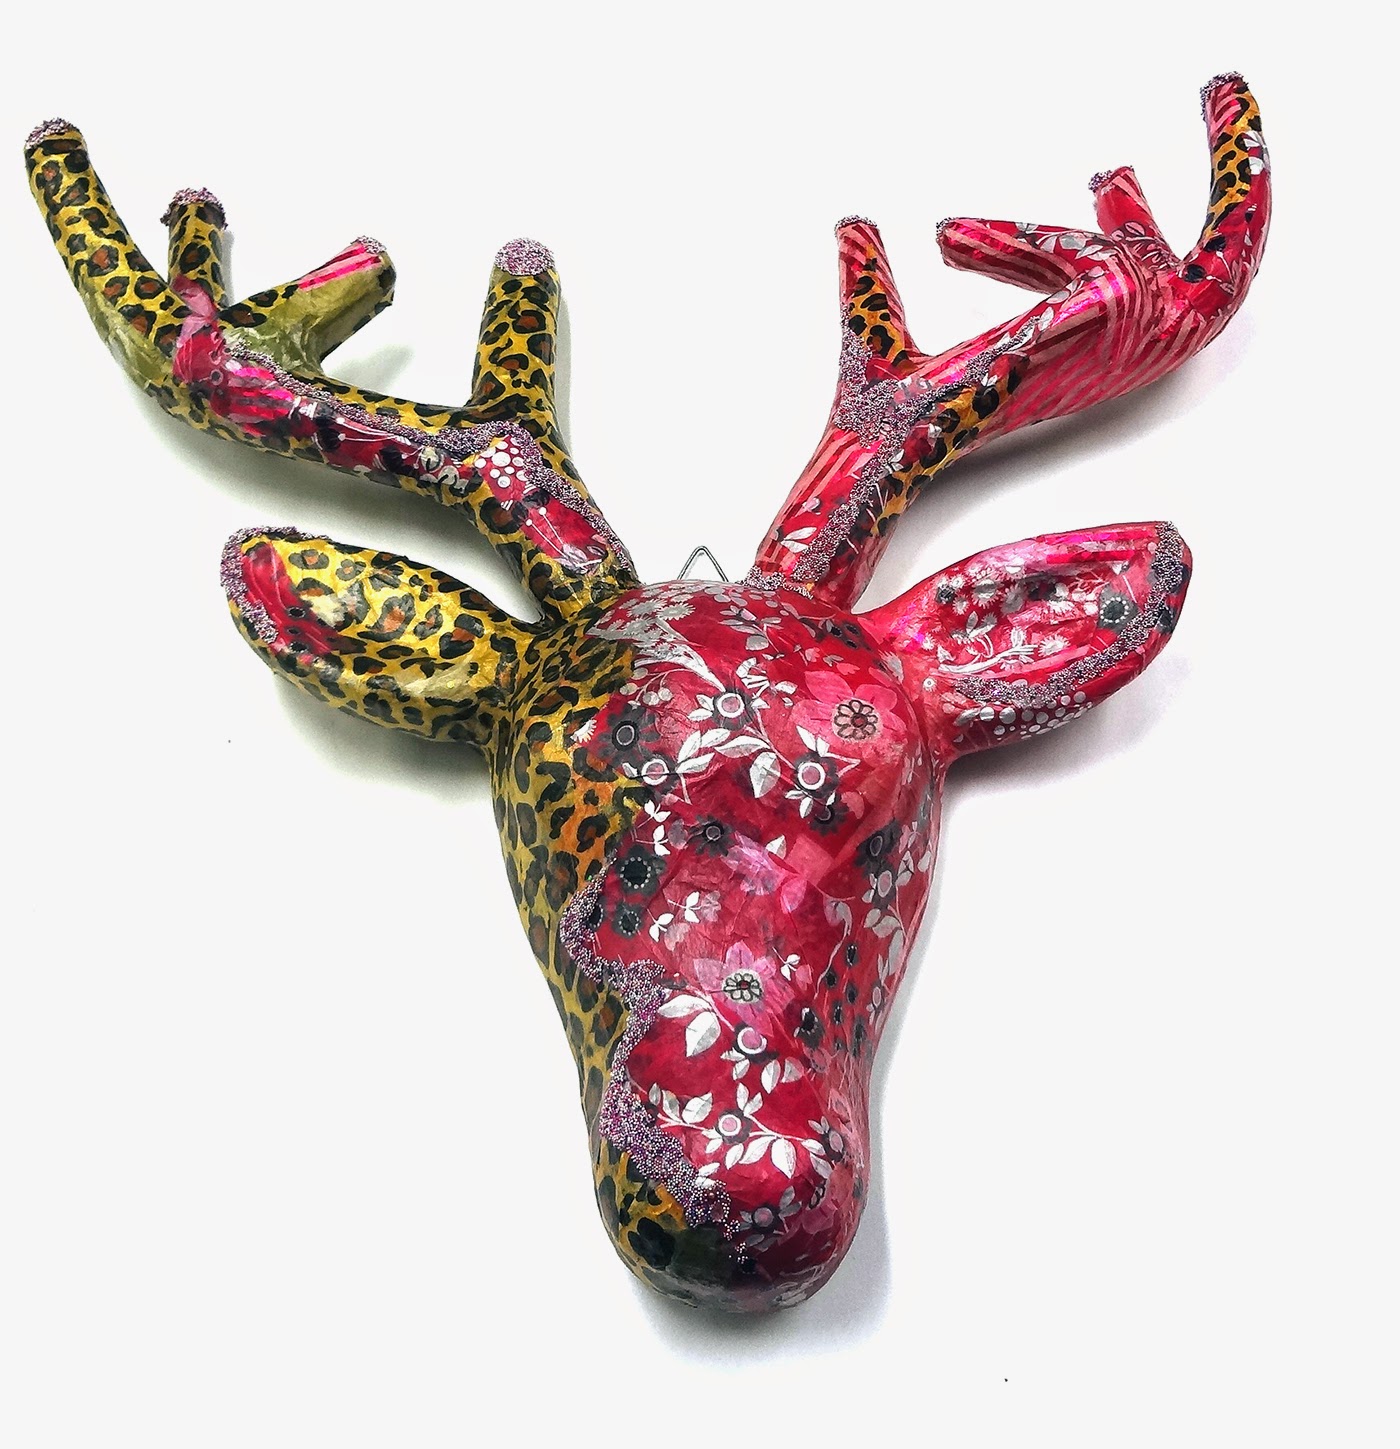
Update: Added A little glass glitter. Now it is done!
Gosh, that looks like fun! The reindeer are terrific.
ReplyDeleteOh my, what fun! Love this idea.
ReplyDelete