
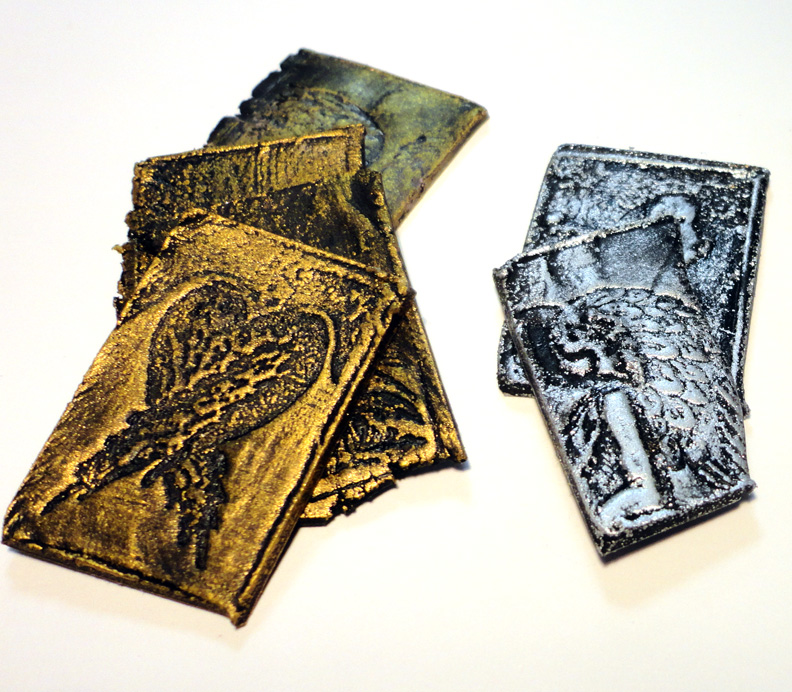
I have some very interesting new tile shapes that I can use as pendants.
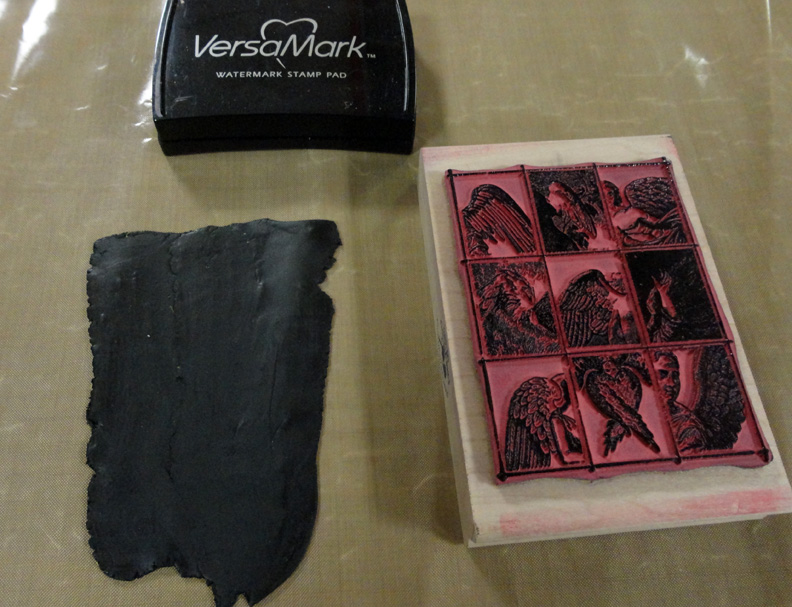
Everyday I seem to wake up with another experiment I want to try with Apoxie Sculpt. Yesterday I wanted to make some interesting clay tiles using one of the rubber stamps in my collection. I made a batch of black Apoxie Sculpt and flattened it onto a non stick work surface. (you can work on waxed paper too) I used a watermark ink pad (which is a clear ink) to condition my rubber stamp. I knew I would be pressing the rubber into the Apoxie Sculpt…and needed to be sure I could pull it away without stretching or distorting the impressed image in the clay.
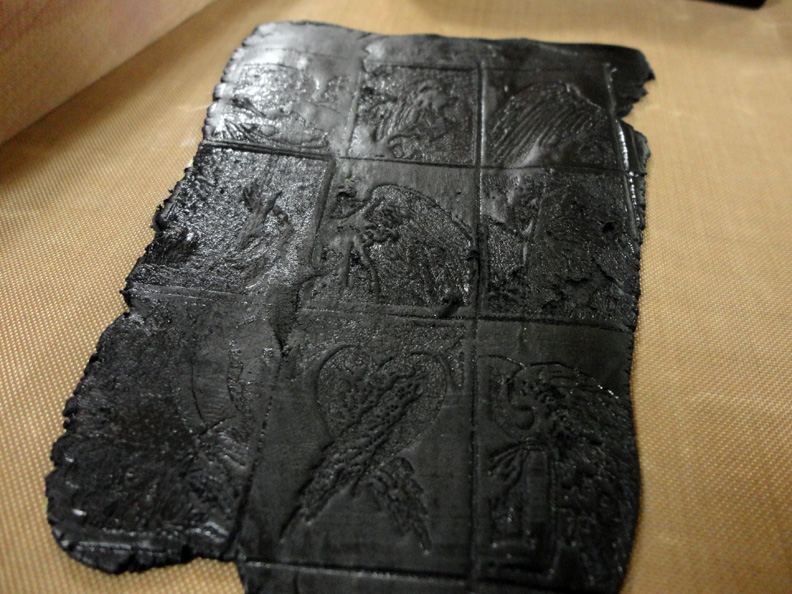
Success! I managed to pull away my rubber stamp! The rubber stamp is very detailed and I was not sure how much of the image would be impressed into the clay.
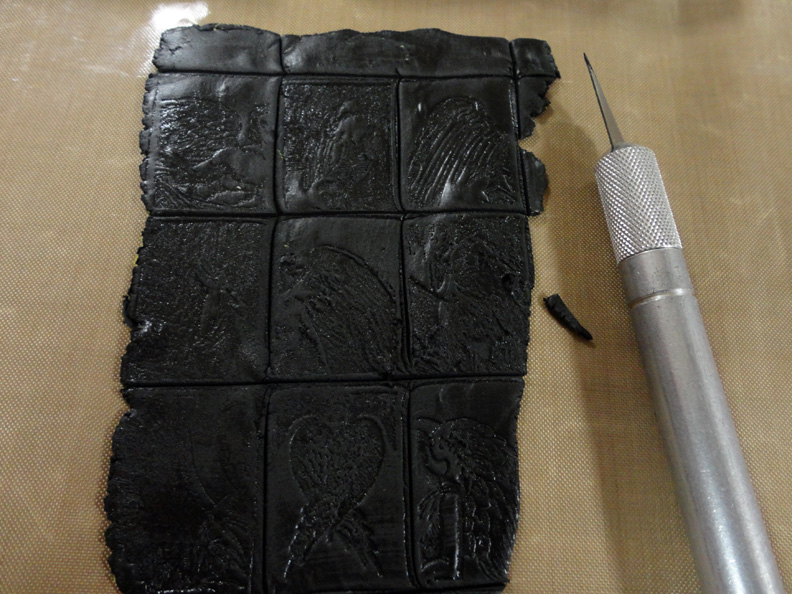
I used an x-acto knife to slice all the tile sections at this point. This way the clay would cure and already be cut into 9 different sections.

Here they are after being left alone overnight.
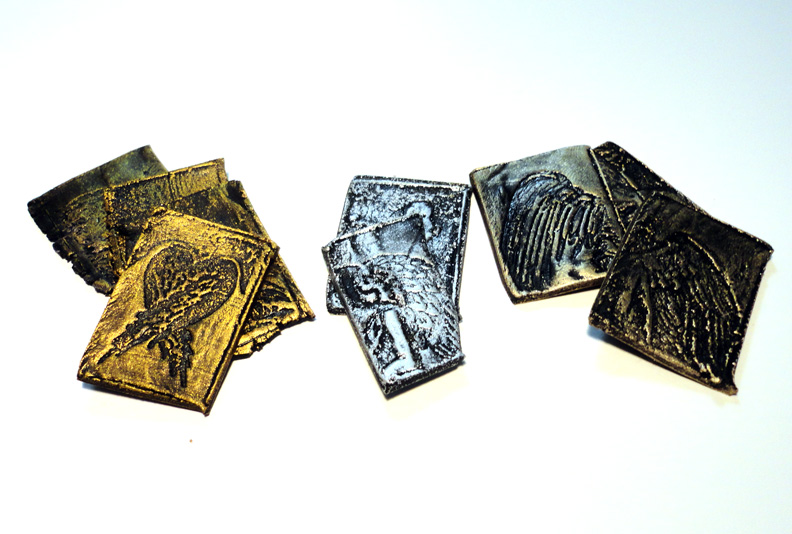
I applied a layer of Gilders Paste to each tile to make the images pop again!

I’ll be doing a lot more rubber stamping into Apoxie Sculpt now!
This is amazing! I have never worked with Apoxie Sculpt. After seeing this I think that I may get me some to try out. Will you be drilling holes in these to use as pendants?
ReplyDelete